
How To Set Up A New School Account
Please click/tap on images to make them larger if you need.
If you have any problems setting up your account or using Oaka Digital, please just contact us – we’re here to help!
Step 1 – Your School Dashboard
Welcome to your “New School” on Oaka Digital! To get started you’ll need to configure a few things. If you get stuck or need help, just contact us and we’ll sort it for you!
This is your School Dashboard. You’ll see four tabs: About, Members, Reports, and Settings. You’ll see two boxes that are important – About and Members. In the header bar of each of those two boxes you’ll see a little pencil icon – hover over the pencil to access the Edit/Manage screens.
As School Administrator, you are the only person who can edit the school settings, unless you invite extra School Administrators.

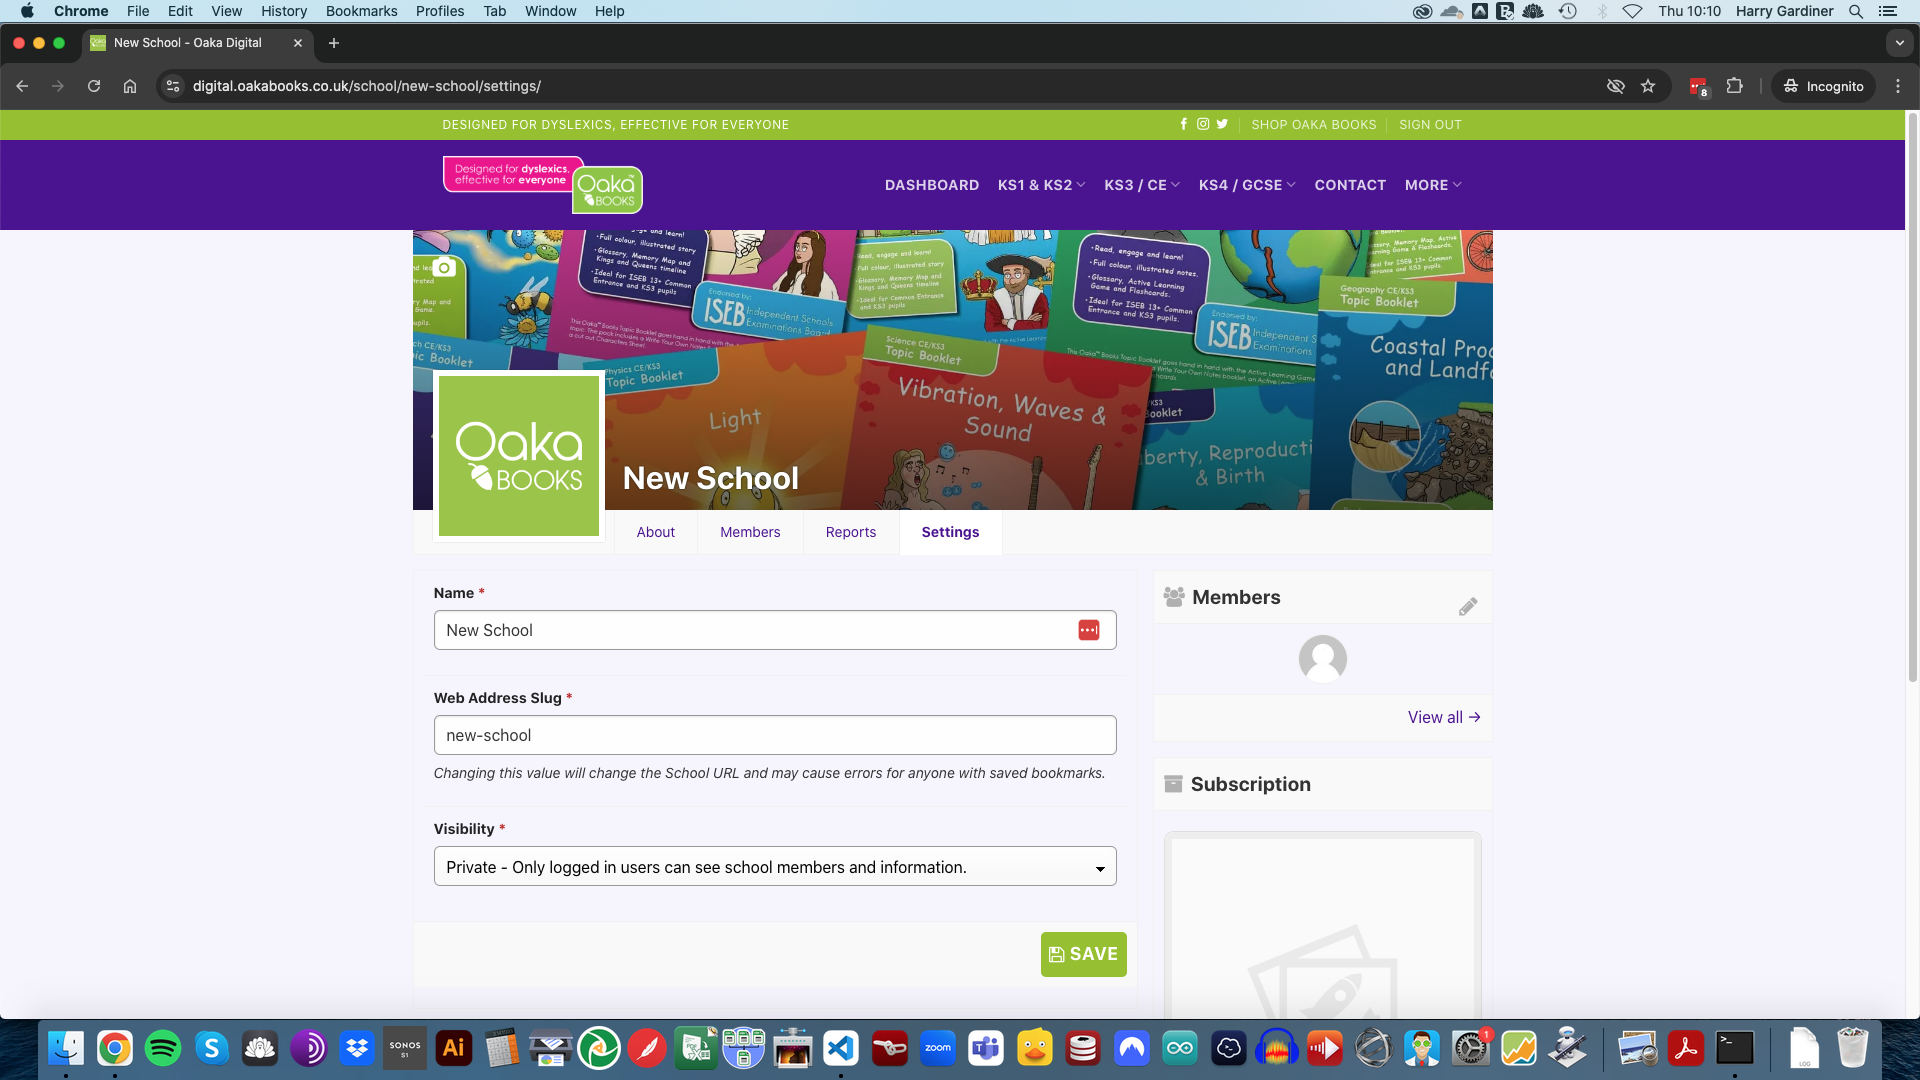
Step 2 – Configure
Click on the Settings tab. You’ll see three fields for you to edit:
Name: replace with your school’s name
Web Address Slug: replace this with your school’s name all lower case and with no spaces
Visibility: we recommend setting this to Closed
Click Save.
Step 3 – Add Students and Teachers
Click on the pencil icon on the right of the Members box. This will trigger a pop up window as displayed in the screenshot here.
For Students:
Enter a student’s email address, select Member, click Send Invitation.
For Teachers:
Enter a teacher’s email address, select Teacher, click Send Invitation.
For adding students in bulk:
Use the Invite Link function. Click Enable Link. Copy the link and send this link to your students. They can then register themselves under your school account.
View Detailed Instructions to Add Students and Teachers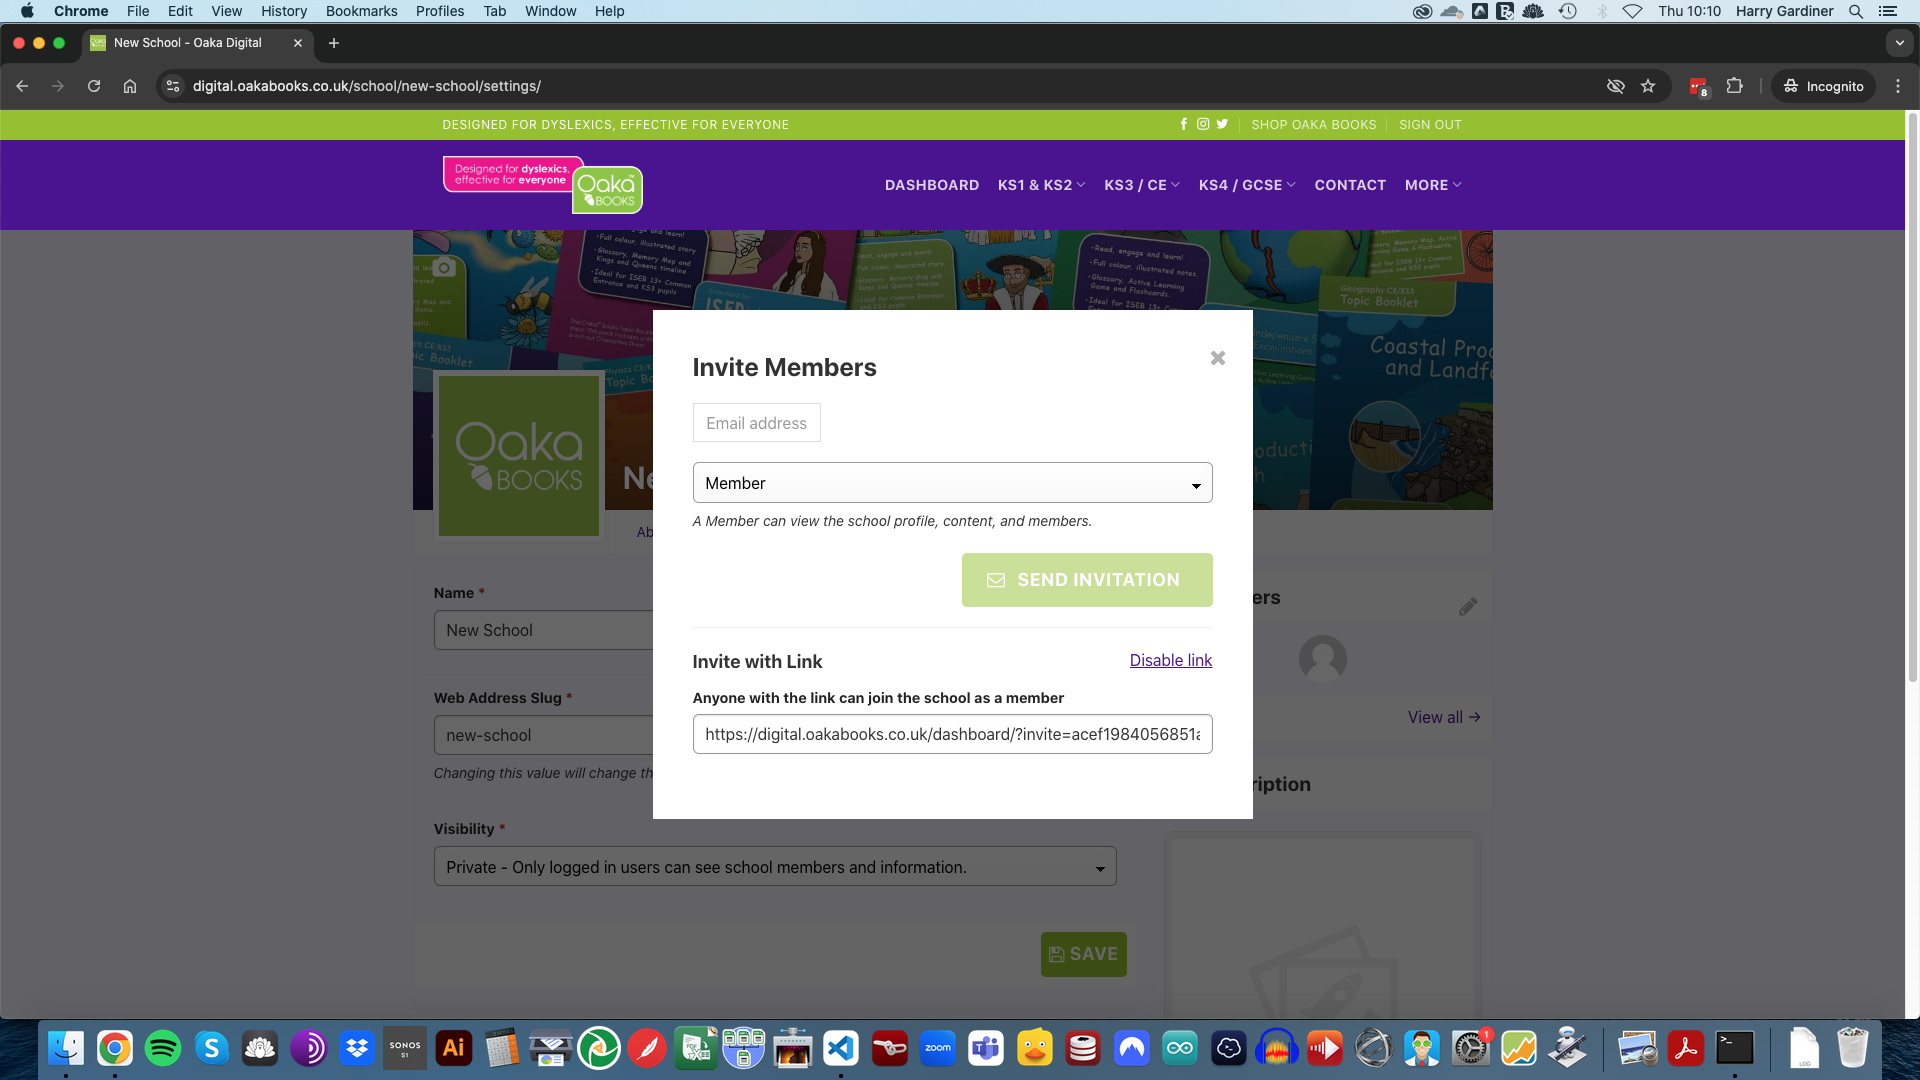
Video Walkthrough
If you have any problems setting up your account or using Oaka Digital, please just contact us – we’re here to help!